Developers sometimes work with complicated environments. Most likely setup of this environment takes lot's of time and it's painfull. There is solution for that called docker.
The simplest thing you can do is just install Docker and then using one command invoke some action on it, for example list files inside directory and remove container right away.
docker run --rm alpine:3.10.0 ls
This will automatically download alpine linux with version 3.10.0, invoke shell command ls, give output to the console and cleanup container.
bin
dev
etc
home
lib
media
mnt
opt
proc
root
run
sbin
srv
sys
tmp
usr
var
Previous way to use some complicated environment after n-th setup person frustrated with work usually started using virtual machine, most likely VirtualBox to set up environment and then pass this virtual machine on pen drive. This usually work in small teams but won't work when there are houndreds developers working on same codebase. Now there is great tool that allows us to combine those processes running on this virtual machine to one program, extend, change it and keep environment clear. And most important run it all using one command so if new employee come to the office, just say to him to install docker or preinstall docker on his development machine. Then he just need to download repository with code and type docker-compose up to see application running.
Ok so let's start.
The main concept of docker is that you run single program on single container so you need to use many containers to run many programs. To create container you need to use special file named Dockerfile and to group containers there are many tools and I use docker-compose because it's simple for development purposes but currently less mainstream as docker now comes with kubernetes orchestrator preinstalled.
Applications on container run until console is blocked and you can define what to do after crash (ex. restart).
Dockerfile is simple KEY VALUE definition that allows user to manage dependencies of software.
In this post I will build simple webpage using flask framework and mariadb database.
Let's start by define our directories as I will build and run everything localy.
workspace/
    docker/
        demo_db/
            Dockerfile
            database-schema.sql
        demo_webservice/
            Dockerfile
            requirements.txt
        docker-compose.yml
    demo_webservice
        static/
            index.html
        main.py
    env/demo_webservice-env
As you can see there will be two containers defined by directories inside docker folder demo_db that will serve mariadb and demo_webservice that will serve flask web application. Those two services will be managed by docker-compose using docker-compose.yml file. Flask application source code will be in workspace/demo_webservice. And my local python environment will be in workspace/env/demo_webservice-env
Ok so lets start with picking base image for demo_db from docker hub cause main advantage of docker is also that you don't need to install everything from scratch. For mariadb there are several options.
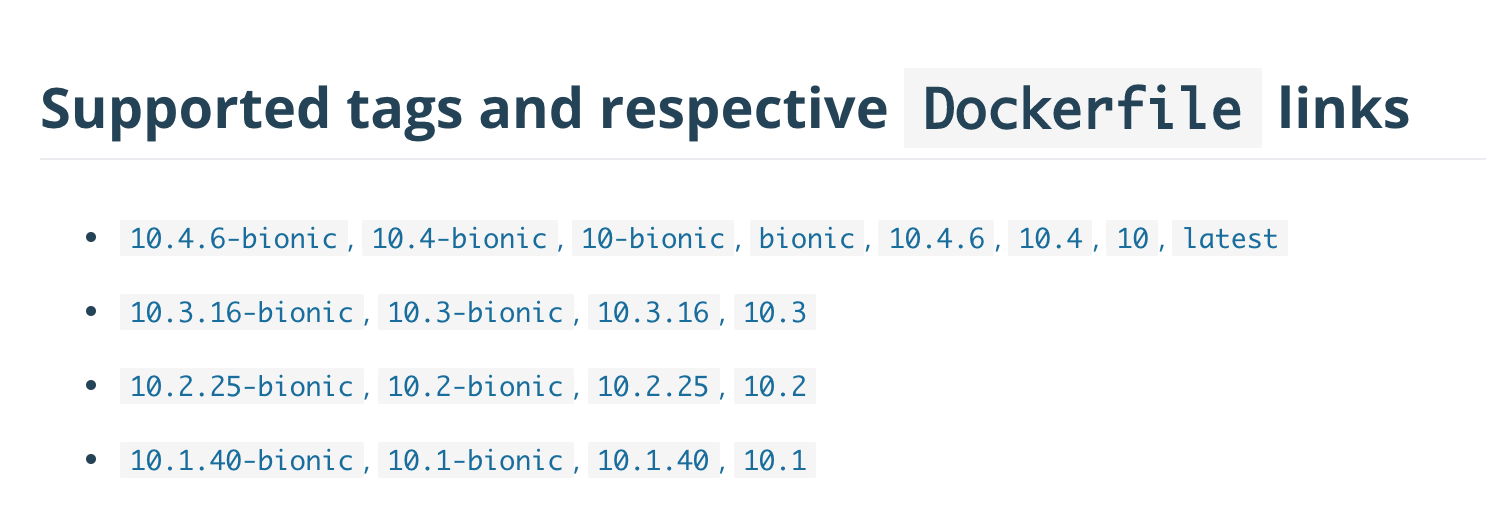
Let's pick latest one 10.4.6-bionic as a base and create simple Dockerfile.
FROM mariadb:0.4.6-bionic
MAINTAINER creator.of.file@example.com
ADD database-schema.sql /docker-entrypoint-initdb.d/database-schema.sql
The convention is to make docker file as small as possible so it won't take to much space in container registry if we want to use one and it is more flexible to extend it later and define some parameters in compose file. 1. FROM is base image name followed by version 2. MAINTAINER is usually email address of person who maintain the container 3. ADD is command to add file to container, to complicate things I will create schema using pure SQL. This script according to the documentation will be loaded on start of container. Lines in dockerfile are very important and they have very powerfull feature as each line has it's own hash and commit. For example if you add something on the line 4 let's say
COPY somefile somedirectory
Docker will only process last line as it has the base image of those three lines. But if you modify line 3 it will rebuild starting from line 2.
SQL script inside file database-schema.sql will be simple creation of one table like this :
DROP TABLE IF EXISTS `todo_list`;
CREATE TABLE `todo_list` (
    `id` int(11) NOT NULL AUTO_INCREMENT,
    `title` varchar(128) COLLATE utf8mb4_unicode_ci DEFAULT NULL,
    `description` text COLLATE utf8mb4_unicode_ci,
    `created_at` timestamp NOT NULL DEFAULT '0000-00-00 00:00:00',
    `modified_at` timestamp NOT NULL DEFAULT '0000-00-00 00:00:00',
    `is_done` tinyint(1) DEFAULT '0',
    PRIMARY KEY (`id`)
) ENGINE=InnoDB DEFAULT CHARSET=utf8mb4 COLLATE=utf8mb4_unicode_ci;
So now I can build demo_db container to see if everything is working by running
docker build -t demo_db:latest ./demo_db

Sending build context to Docker daemon  3.072kB
Step 1/3 : FROM mariadb:10.4.6-bionic
 ---> f1e4084965e5
Step 2/3 : MAINTAINER creator.of.file@example.com
 ---> Running in 984211d8fdde
Removing intermediate container 984211d8fdde
 ---> a633167ad080
Step 3/3 : ADD database-schema.sql /docker-entrypoint-initdb.d/database-schema.sql
 ---> ae8aa43a2b9d
Successfully built ae8aa43a2b9d
Successfully tagged demo_db:latest
Then the docker image can be seen by running
$docker images
REPOSITORY           TAG                   IMAGE ID            CREATED             SIZE
demo_db              latest                ae8aa43a2b9d        32 seconds ago      356MB
alpine              3.10.0                4d90542f0623        6 days ago           5.58MB
mariadb              10.4.6-bionic         f1e4084965e5        6 days ago          356MB
To test if sql script is working I can run my demo_db instance from command line and expose port 3306 to my local machine so I can connect to it using local mysql client or use mysql client inside container once I start it.
docker run --rm -d -e MYSQL_ROOT_PASSWORD=demo -e MYSQL_DATABASE=demo -p 3306:3306 mariadb:10.4.6-bionic
12fed9cbc05bcc276aca37aeb8700ed3441581a24eb0912250e5626b68b11031
-- rm tells to remove container after stop
-d tells to not block current console and start container in background
-e is environment variable to set root password and setup demo database
-p is port first number is local machine second number is container port
Second line is output command hash of just runned container. Also there is possibility to operate by name by defining --name of the container otherwise name is randomly generated.
To see if container is running type
docker ps
CONTAINER ID        IMAGE               COMMAND                  CREATED             STATUS              PORTS                    NAMES
12fed9cbc05b        demo_db:latest      "docker-entrypoint.s…"   17 seconds ago      Up 16 seconds       0.0.0.0:3306->3306/tcp   pedantic_ishizaka
I don't need to have mysql client installed localy I can simply go to container shell by running.
docker exec -ti 12fe bash
root@12fed9cbc05b:/# mysql -u root -p demo
Enter password:
Reading table information for completion of table and column names
You can turn off this feature to get a quicker startup with -A

Welcome to the MariaDB monitor.  Commands end with ; or \g.
Your MariaDB connection id is 8
Server version: 10.4.6-MariaDB-1:10.4.6+maria~bionic mariadb.org binary distribution

Copyright (c) 2000, 2018, Oracle, MariaDB Corporation Ab and others.

Type 'help;' or '\h' for help. Type '\c' to clear the current input statement.

MariaDB [demo]> show tables;
+----------------+
| Tables_in_demo |
+----------------+
| todo_list      |
+----------------+
1 row in set (0.001 sec)

MariaDB [demo]>
This gives me great ability to test new software without installing it on my local machine. When I stop container by running
docker stop 12fed
it will disappear automatically and all my changes also so be sure to store changes somewhere else then inside container if you need them. Best way is to treat container as another application runtime.
Table is there but there is no data and no application so let's build simple one. I will use python virtual environment to keep my python version separated. To create new environment I type
mkdir env
python3 -m venv env/demo_webservice-env
source env/demo_webservice-env/bin/activate
Then I install my dependencies:
pip install flask mysqlclient wtforms wtforms_json
And create some basic application inside demo_webservice/main.py This paplication will connect to database using this code on my local machine
DB.connection = connect(host="127.0.01",
      user="root", port=3306, passwd="demo",db="demo", conv=conv)
but on container the demo_webservice can resolve demo_db name so I can change host to demo_db name
DB.connection = connect(host="demo_db",
      user="root", port=3306, passwd="demo",db="demo", conv=conv)
My app is simple REST webservice with some basic routes to manage todo list.
GET  - "/" - serve static/index.html client code
GET  - "/todo" - retreives all todo
GET  - "/todo/<int:todo_id>" - retreives one todo by todo_id
POST - "/todo" - add new todo
PUT  - "/todo/<int:todo_id>" - modify existing todo
GET  - "/todo/<int:todo_id>/check" - mark todo checked
GET  - "/todo/<int:todo_id>/uncheck" - mark todo not checked
It is using json format for information exchange between backend and frontend.
For frontend part I decided to not use any javascript framework but utilize newest javascript features like template literals and Fetch API to keep page light.
This way frontend of the application is just 4KB not mimimized one file named index.html.
After both frontend and backend is created it's time to create Dockerfile for demo_webservice. This container will be a little more complicated as I need to get some dependencies for database connection and install some python dependencies inside container.
Let's start with save python dependenices to requirements.txt file by typing
pip freeze > ../docker/demo_webservice/requirements.txt
Here is dockerfile for demo_webservice
FROM python:3.7.3-alpine3.8
MAINTAINER creator.of.file@example.com
RUN apk add --no-cache mariadb-dev build-base
ADD requirements.txt /
RUN pip install -r /requirements.txt
WORKDIR /code
So this time base for container is python:3.7.3-alpine3.8.
Third line is adding python packages build dependencies by running.
RUN apk add --no-cache mariadb-dev build-base
Then I copy my requirements.txt to base directory of container.
ADD requirements.txt /
After that I simply install those dependencies by running command.
RUN pip install -r /requirements.txt
At the end I set directory that will be base directory whenever I run the container.
WORKDIR /code
I can test my build by typing in docker directory.
docker build -t demo_webservice:latest demo_webservice/
To remove images from my local docker repository I can type either image name:version or IMAGE ID So for now let's remove images and run everyting with single command.
docker rmi demo_db:latest demo_webservice:latest mariadb:10.4.6-bionic python:3.7.3-alpine3.8
To start all using one command I need docker compose. Docker compose can keep configuration of docker run parameters in single yaml file. This way I don't need to worry how to run every container and I can focus on development.
So here is how my compose yaml file looks like. I will go trough all parameters below definition.
version: '2'
services:
  demo_db:
    build: ./demo_db
    image: demo_db
    container_name: demo_db
    hostname: demo_db
    restart: always
    networks:
      - demo_network
    volumes:
      - ./data/demo_db:/var/lib/mysql
    environment:
      MYSQL_ROOT_PASSWORD: demo
      MYSQL_DATABASE: demo
    expose:
      - 3306
    ports:
      - 3306:3306
  demo_webservice:
    build: ./demo_webservice
    image: demo_webservice
    container_name: demo_webservice
    hostname: demo_webservice
    restart: always
    networks:
      - demo_network
    depends_on:
      - demo_db
    volumes:
      - ../demo_webservice:/code
    expose:
      - 5000
    ports:
      - 5000:5000
    command: ['python', 'main.py']
networks:
  demo_network:
Starting from the top. First line is docker-compose file version.
version: '2'
Then I defined containers as services and in this demo there are only 2 services.
services:
    demo_db:
    demo_webservice:
Next inside service there are definitions for docker-compose. First is what directory docker compose should use to build container image then information what image it should use, how to name a container and how container should be visible inside internal network.
demo_db:
    build: ./demo_db # directory from where build container
    image: demo_db # image in docker images
    container_name: demo_db # name of the container so we can ex. docker restart demo_db
    hostname: demo_db # hostname so from demo_webservice we can ping demo_db
After that there is information what to do when container crash, definition of container network, what are dependencies of this container (we can define multiple dependencies so theoretically container won't start until dependencies start), definition of mapped directories, port exposed inside container netwrok, ports exposed from container to external network (my local machine), command that will be starting container and also environment variables
demo_webservice:
    restart: always # what to do when container crash --restart always
    networks:
      - demo_network # name of the netwrok --network docker_demo_network
    depends_on:
      - demo_db # do not start untill demo_db start
    volumes:
      - ../demo_webservice:/code # relative path to local diectory with application -v ../demo_webservice:/code
    expose:
      - 5000 # expose port inside container network --expose
    ports:
      - 5000:5000 # -p local_port:container
    command: ['python', 'main.py'] # docker run container_name command
demo_db:
    environment:
      MYSQL_ROOT_PASSWORD: demo # -e MYSQL_ROOT_PASSWORD=demo
      MYSQL_DATABASE: demo
Finally there is simple network definition demo_network so only containers inside this network can communicate with each other.
networks:
  demo_network:
Ok so to start application I need to go to docker directory and type
docker-compose up
It takes a little time for database to initialise for the first time so there will be some errors visible from python application as it can't connect to database right away but at the end everyting will work.
To start compose without blocking terminal
docker-compose up -d
After all of this struggles I can navigate to localhost:5000 on mac or if I use windows / linux probably to ip defined by following command and see web application.
docker_machine ip
Because application runs in debug mode and container have parameter restart always I can modify main.py and see results inside browser or inside container imidiatelly without bothering to run my code if I made some changes.
As you could see first start will create docker/data directory where maria db will store all of database data. When I stop environment I can zip this directory and save it if I want snapshot of my database.
Some more usefull commands for compose are remove all containers and it's data and compose network
docker-compose down
Rebuild of environment
docker-compose build
That's all for this post.
As always all code is available on github